Living life with celiac in the northwest suburbs of Chicago


Friday, April 20, 2012

This is the third post in my three-part weekly series for living gladly and gluten free: News n' Nibbles Monday, Mid-week Menus on Wednesdays, and today...DIY Friday! Today's project focuses on DIY birthday parties. Sure you can go to Chuckie Cheese's, Monkey Jones, or some jumpy place and call it a day. But with so many great ideas available on the Internet for party themes and decor, why not arm yourself with some toile and a glue gun and add some creative flair to your little lady's special day?
My daughter loves to read books, accents any outfit in her closet with something hot pink, and includes words like "fashionable" and "thrilling" in her standard vocabulary. When she turned 5 a few weeks ago, we didn't have to think too hard about what her birthday party theme would be - Fancy Nancy. I enjoy reading Jane O'Connor's Fancy Nancy book series with my daughter at bedtime, not only for their colorful and creative illustrations, but also for the new vocabulary words she learns with each story...."spectacular", "observant", and "brilliant" to name a few.
I scoured the Internet a few weeks beforehand, putting together a collection of favorite ideas from others' parties, as well as my own ideas and personal touches. This was a soiree (that's fancy for party) on a relatively low budget being hosted in a small space. All foods and beverages served were gluten free too. All in all, it was a smashing success, with 10 little girls entertained and my daughter thrilled. Ooh La La!

Decorations
  • Welcome Sign
  • Number 5
  • Bonjour Banner
  • Fancy Table
I started with a fancy welcome sign on the door, simply using a variety of decorative scrapbook paper from Hobby Lobby.  After the party, I slid that sign right into my daughter's scrapbook along with some of the snapshots from the party. I re-used these papers for guests' nametags and decorative signs labeling the various snacks and beverages being served.
The little lady and I crafted a tissue paper "5" to hang for decoration together - so simple. We cut out a poster board 5, then twisted and glued little pink tissue paper scraps on top.  A "Bonjour" banner using poster board, ribbon remnants, and my decorative scrapbook paper added to the French flair.
As for the tables, the fancier the better. I purchased glass parfait dishes at Walmart for 99 cents each as the place setting for every guest. We added beads, boas to each chair (warning: you will be vacuuming feathers for a week), toile, and pink tissue paper flowers to complete the table scape.

Activities
  • Get Fancy! Dress-up time
  • Miss Devine reads a Fancy Nancy story
  • Decorate purses with fancy decorations
  • Fashion Show
With 10 little girls over for two hours, dress-up can only get you so far. We had an agenda (that's fancy for a list of things to do) to keep the girls busy and having a fabulous time. We started with a big dress-up bin, allowing each girl to put together her own ensemble. Tip: Go to garage sales or thrift stores for old dresses and purses. Look for a used coat rack to hang all extra dresses and accessories. My mom was a great sport, acting like "Miss Devine" and reading the girls a Fancy Nancy story. Being the retired educator that she is, she took the opportunity to teach the girls about some of the fancy words. They really enjoyed it! We moved the party into our garage for our craft project, decorating purses. Walmart and Hobby Lobby carry inexpensive packs of purses perfect for little 5 year-olds. Buy some puffy pants, stick-on letters, and sparkles to use as adornments, emptying them into easy to reach bowls on the decorating table. My mom, sister, and I supervised and manned the glue guns for the girls as they decorated away.

Food & Beverages
  • Make own parfaits
  • Flower petal cupcakes
  • Beverage bar with sparkling cider, water, and flavored milks
Following the purse decoration, we moved on to the piece de resistance: parfaits. Starting with vanilla ice cream, girls decorated their own parfaits with chocolate syrup, sprinkles, bits of candy, cherries and whipped cream. For the gluten free and dairy free guests (and host), we had So Delicious vanilla ice cream, Hershey's chocolate syrup, ghirardelli chocolate chips, K-toos cookie crumbles, Cakemate sprinkles, and Soyatoo 
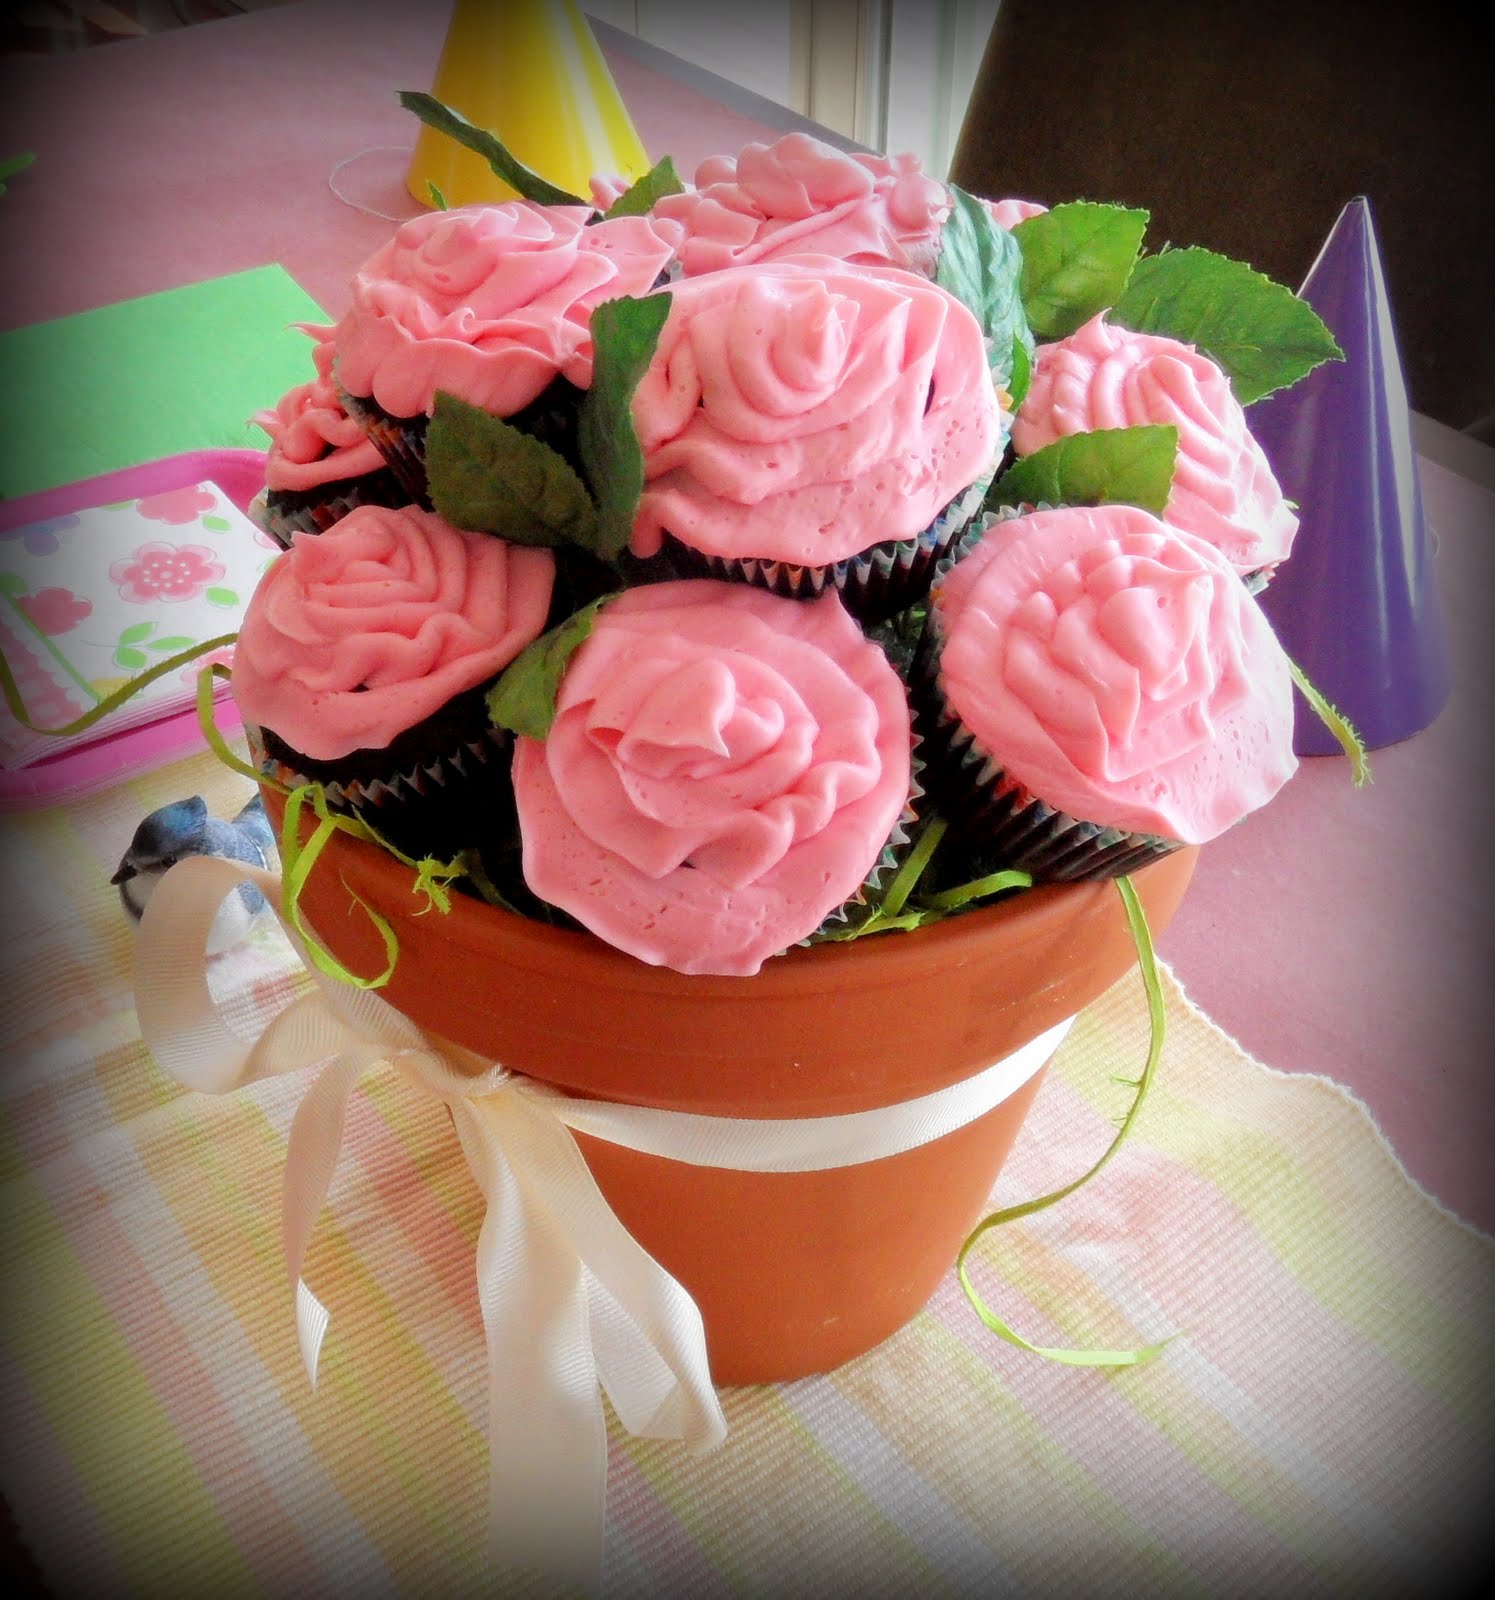
Rice Whip whipped cream. If that weren't enough sugar overload, we had mini-cupcakes (gluten free and dairy free) in adorable flower petal cupcake cups (Walmart again - $1.49). I printed up little "5"s that I glued to toothpicks and inserted into each cupcake for a little extra flair.
For drinks, we set up a "beverage bar" along with fancy plastic cups and paper umbrellas. Each girl enjoyed their beverage, pinkies up, with their parfait and cupcake.

Wrap-up
  • Gift opening
  • Fashion Show
  • Fancy Nancy homemade gift bags
After all the food and fun, it was time for presents. My daughter sat in our over-sized living room chair, and each guest sat with her as she opened her present. When gifts were all opened, we proceeded back to the garage to retrieve our decorated purses (now dry) and have a fashion show. Each girl walked the imaginary catwalk to RuPaul's "Supermodel", posing for a photo with their new purse. Before we knew it, time was up. Guests left with a Merci Beaucoup favor bag (Uline white paper bags with a printed Fancy Nancy "thank you" glued on), filled with their feathery boa, candy, and their fancy purse.

Thursday, March 24, 2011

Announcement: I've moved my blog!

I am very excited to announce that I have packed my virtual bags and moved my blog to http://www.chicagonow.com/gladlyglutenfree 

I am now part of the ChicagoNow online community of bloggers writing about all things Chicago. I look forward to continuing to share experiences, recipes, recommendations, and research pertaining to celiac disease and living gluten and dairy free through this new site.

I've enjoyed my relatively short stay on Google Blogger and will continue to keep my older posts here. All new posts will appear on my ChicagoNow Gladly Gluten Free site. Over time, my older posts will be ported over and appear on my ChicagoNow Gladly Gluten Free site as well. 

Stop by for a visit. I'll have some warm, gluten free chocolate chip cookies waiting....not really, but maybe a recipe for them though!


Spring Garden Birthday Party

Even though Chicago weather isn't following suit, spring is definitely here....at least that is what the birds chirping at 6am are telling me. To celebrate this season that brings new life blooming with possibility, we decided to have a spring garden themed birthday party for my daughter. We had both gluten and gluten-free guests, so I made two versions of some of the menu items to accommodate both.

Menu
Party Chicken
Easy Roasted Potatoes
Vegetable Quiche
Springtime Butterflies and Flowers Birthday Cake
Flower Pot Cupcakes
Bird Nests
Assorted Fresh Fruit, Veggies and Hummus Dip (Tribe brand is gluten free)

We had several games and crafts focused on a spring theme. Most of the children attending were under the age of 6, so we tried to have games and crafts that were not too complicated. My daughter and I tried to show some restraint when shopping for all of the decorations, but it is hard when you are bombarded with cute little butterflies, spring chicks, and pastel flowers at these craft stores!


Games and Crafts
  • Decorate and Fill a Flower Pot
  • Face Painting
  • Flower Toss
  • Pin the Petal on the Flower
  • Thank You Flowers

Decorate and Fill a Flower Pot
This is a fun and easy way to get kids excited for spring and express their creative sides.
Supplies Needed:
  • Large folding table covered in butcher/craft paper
  • Small terra cotta pots
  • Spray Paint (whatever colors you choose)
  • Spring-themed foam stickers, foam letters
  • Glitter glue, markers
  • Potting Soil 
  • Small stones
  • Assorted Seeds
Spray paint flower pots in assorted colors and let dry. Arrange all supplies on a large folding table covered in craft paper. When children arrive, they can choose various foam stickers, glitter glue, and markers to decorate their flower pot. When they are finished decorating, let them choose which seeds they'd like to plant in their pot. Place a stone at the bottom of the pot to cover the drain hole. Fill pot with potting soil and have the children sprinkle in seeds.

Face Painting
Kids always love getting their face painted. The key to keeping the party running smoothly is to offer a menu of a few choices (frog, butterfly, flower) and stick to those options! Hobby Lobby and other craft stores sell various brands of face paints. I personally like
Supplies Needed:
  • Set of Paint Pots
  • Paintbrush with fairly thin tip
  • Cup with Water
  • Paper Towel
  • 2 Chairs (one for face painter, one for party guest)
  • Menu of available options (I printed out a page with clip-art images of the choices)
  • Hand Mirror (for looking at the finished product)

Flower Toss
This is is a riff on Bozo Buckets, one of my personal favorites as a kid growing up in Chicago.
Supplied Needed:
  • Large flower pot
  • Set of artificial daisies or similar large flower (remove tops from stems)
  • Small stones
  • Hot glue gun
Here, I use one "bucket" which is really a large flower pot. Kids toss the tops of artificial daisies into the flower pot, seeing how many they can get into the pot. Each of the daisies are weighted down by a stone that is hot-glued to the back. The game was such a hit that even grandma gave it a try!

Pin the Petal on the Flower
This is another riff of an old favorite - Pin the Tail on the Donkey. Kids are blindfolded and stick their "petal" on the flower stem, trying to get as close to the center as possible. At the end of the game, we had made quite a nice piece of modern art.
Supplies Needed:
  • Craft paper (pink, green, yellow for the flower center)
  • Tape
  • Blindfold
  • Chalk or marker

Thank You Flowers
Since writing thank you cards is something that I always have trouble keeping up with, we decided to give everyone their "thank you" when they left the party.
Supplies Needed:
  • 14 inch dowel rods
  • Green Paint
  • Flower Graphic with Thank You message printed on it
  • Clear Tape
Paint the dowel rods green, to look like a stem of a flower. Tape the thank you message onto the top of the dowel rod and insert into each of the guests' decorated flower pots. Miraculously, their planted seeds grew into a very thankful flower during the party!

Bird Nests


While visiting a friend with a lake cabin up in Hayward, Wisconsin, I was pleasantly surprised to find  Grandma Ferdon's production house which sells gluten free food! As one of my vacation souvenirs, I took home a bag of their Chow Mein noodles. Delicious! With spring upon us and Easter fast approaching, I tried to think of a way to put these chow mein noodles to work in a creative way other than the typical Asian stir fry dish. Why not make the ever popular and oh so easy little bird nests? My kids thoroughly enjoyed plopping the "eggs" into each of these nests. Don't worry. You don't need to travel up to Hayward to get your own bag of chow mein noodles. You can order them online.

Bird Nests
2 cups Ghirardelli semi-sweet chocolate chips
1 cup Jif creamy peanut butter
2 cups gluten free chow mein noodles (Grandma Ferdon's)
Jellybeans (Lifesavers brand are gluten free)

Line a baking sheet with parchment paper. Place chocolate chips and peanut butter in a microwave-safe bowl and melt in the microwave. Stir melted mixture. Add chow mein noodles and gently stir until fully coated. Drop by tablespoonful onto the lined baking sheet. Form into a nest shape using your fingers. Place a few of the colored jellybeans into the center as "eggs".


Flower Pot Cupcakes


When I ran across this in a magazine, I knew I just had to re-create it for my daughter's birthday. Although it looks complicated, it is really pretty easy to put together. The cupcakes are gluten and dairy free, made from Betty Crocker's gluten free chocolate cake mix and frosted with Pillsbury's strawberry frosting. When I contacted Pillsbury, I was happy to know that all of their frostings, with the exception of their Coconut Pecan flavor are gluten free.

Supplies Needed:
  • Terra cotta flower pot
  • Styrofoam ball (cut in half)
  • Toothpicks
  • 8-10 gluten/dairy free cupcakes (unfrosted, bake these in baking cups)
  • Pillsbury Strawberry Frosting
  • Large ziploc bag
  • Frosting tip (#104 Wilton)
  • Artificial leaves, artificial grass
Insert cut styrofoam ball into terra cotta pot. It will serve as the base for holding the cupcakes. Insert two toothpicks about halfway into the styrofoam. Gently place a cupcake on top, so that the toothpicks hold it securely in place. Continue inserting toothpicks and placing cupcakes on top until cupcakes are covering the flower pot.

Take the large ziploc bag and, using scissors, snip off a small corner. This is going to become your homemade frosting bag. Insert the frosting tip through the opening, just so it sticks through the bag. Fill the ziploc bag with the strawberry frosting, squeezing out any air pockets. Pipe the frosting around the cupcakes in a rose-petal fashion. Embellish with artificial leaves and grass.

Easy Roasted Potatoes

These potatoes are so easy and so delicious at the same time. The crispiness of the roasted potatoes makes it a yummy side dish to any weeknight recipe. Mix up the types of potatoes you use for a little change.

Easy Roasted Potatoes
3 lbs quartered potatoes (red, sweet, yukon, gold)
3-4 tbsp olive oil
2 tsp sea salt
1/2 tsp pepper to taste


Preheat oven to 400 degrees. Place quartered potatoes in a large bowl. Add olive oil to bowl, mixing with your hands to ensure potatoes are sufficiently covered. Spread quartered potatoes in pan and add salt and pepper. Bake uncovered for 50-60 minutes until browned and slightly crispy.

Party Chicken

This recipe is an adaptation of one of my mother-in-law's recipes. It is always a hit at parties (hence the name) and family gatherings.

Party Chicken
3 lbs. boneless skinless chicken breasts (sliced in half, lengthwise)
1 (16 oz.) package bacon (Hormel, Applegate farms are two gluten free brands)
1 (2 oz.) package Carl Buddig beef lunch meat


White Mushroom Sauce
1 (8 oz.) package of mushrooms, chopped
2 cloves garlic
2 tbsp olive oil
4 tbsp Earth Balance spread
2 tbsp brown rice flour
1 tsp potato starch
1 cup chicken stock (Rachael Ray, Kitchen Basics are gluten free brands)
1/2 cup Silk Almond Milk (original flavor)
Salt and Pepper to taste


Preheat oven to 275 degrees. Heat olive oil in large pan, add garlic, and saute for 2-3 minutes. Add mushrooms and continue to saute. Once mushrooms are cooked, remove from pan and set aside. In the same large pan, melt the Earth Balance spread. Add the brown rice flour and potato starch and whisk until it forms a thick consistency (roux). Slowly add the chicken stock and almond milk and continue whisking until it reaches a creamy consistency. Add the cooked mushrooms back into sauce and stir. Add salt and pepper to taste.

In a 9 x 13 baking pan, spread the Carl Buddig lunch meat on the bottom of the pan. Wrap a slice of bacon around each chicken breast and place in pan on top of the lunch meat.  Pour white mushroom sauce over the chicken and bake uncovered for approximately 3 hours. Chicken should be very tender when ready.